No Enderman Grief

No Enderman Grief

Stops enderman from pickung up blocks

von
298.2K Downloads
datapackfabricforgeneoforgequiltadventuregame-mechanicsmobs
Server mit dieser Mod mieten

Screenshots

No Enderman Grief
Enderman Grief

Über diese Mod

minecraft datapack title...

jodeks discord - discord badge - pixel badge - pixel discord badge - jodeks datapacks - datapacks discord  
datapacks jodek youtube  
armor stand arms minecraft datapack github issues  
jodeks datapacks kofi - jodek kofi - minecraft datapack kofi donation  
github sponsor jodek donation datapacks minecraft

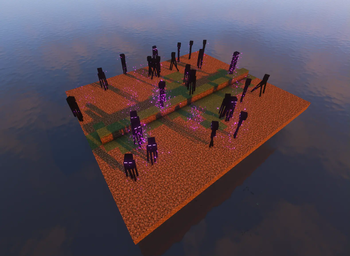
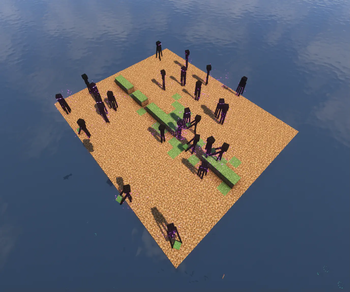
Stops enderman from pickung up blocks

Enabled
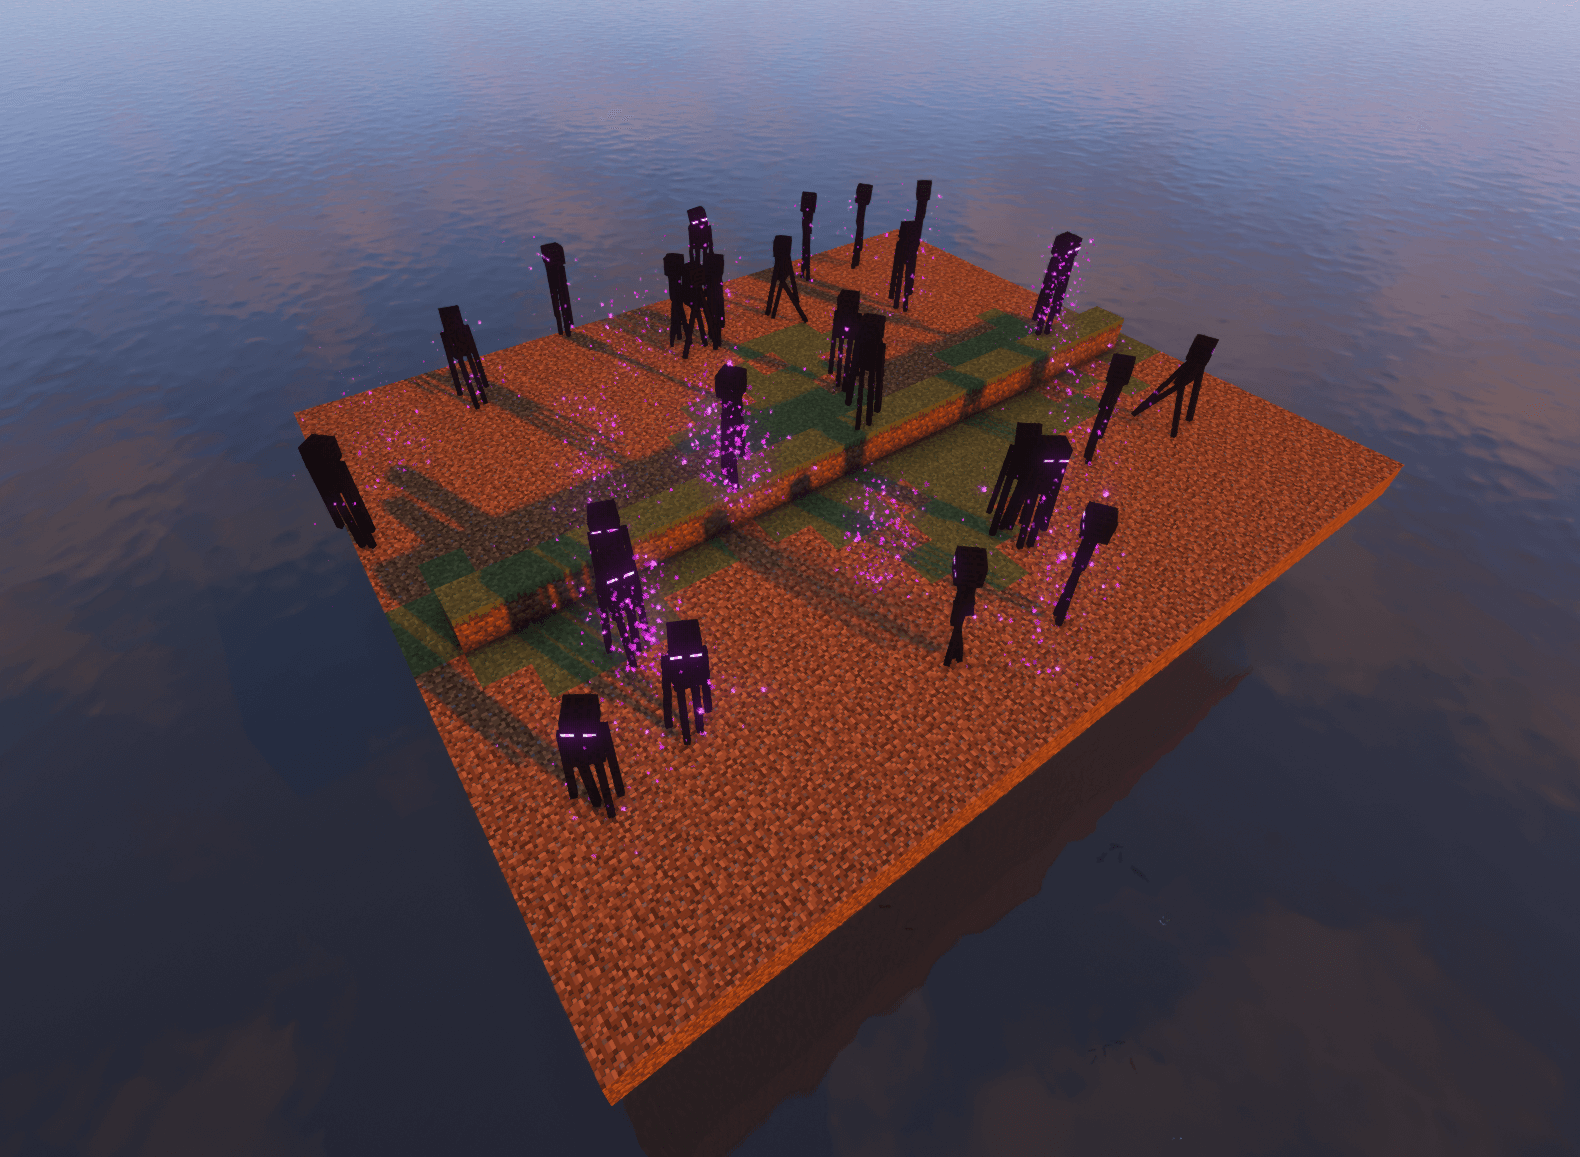
Enderman do not pick up blocks

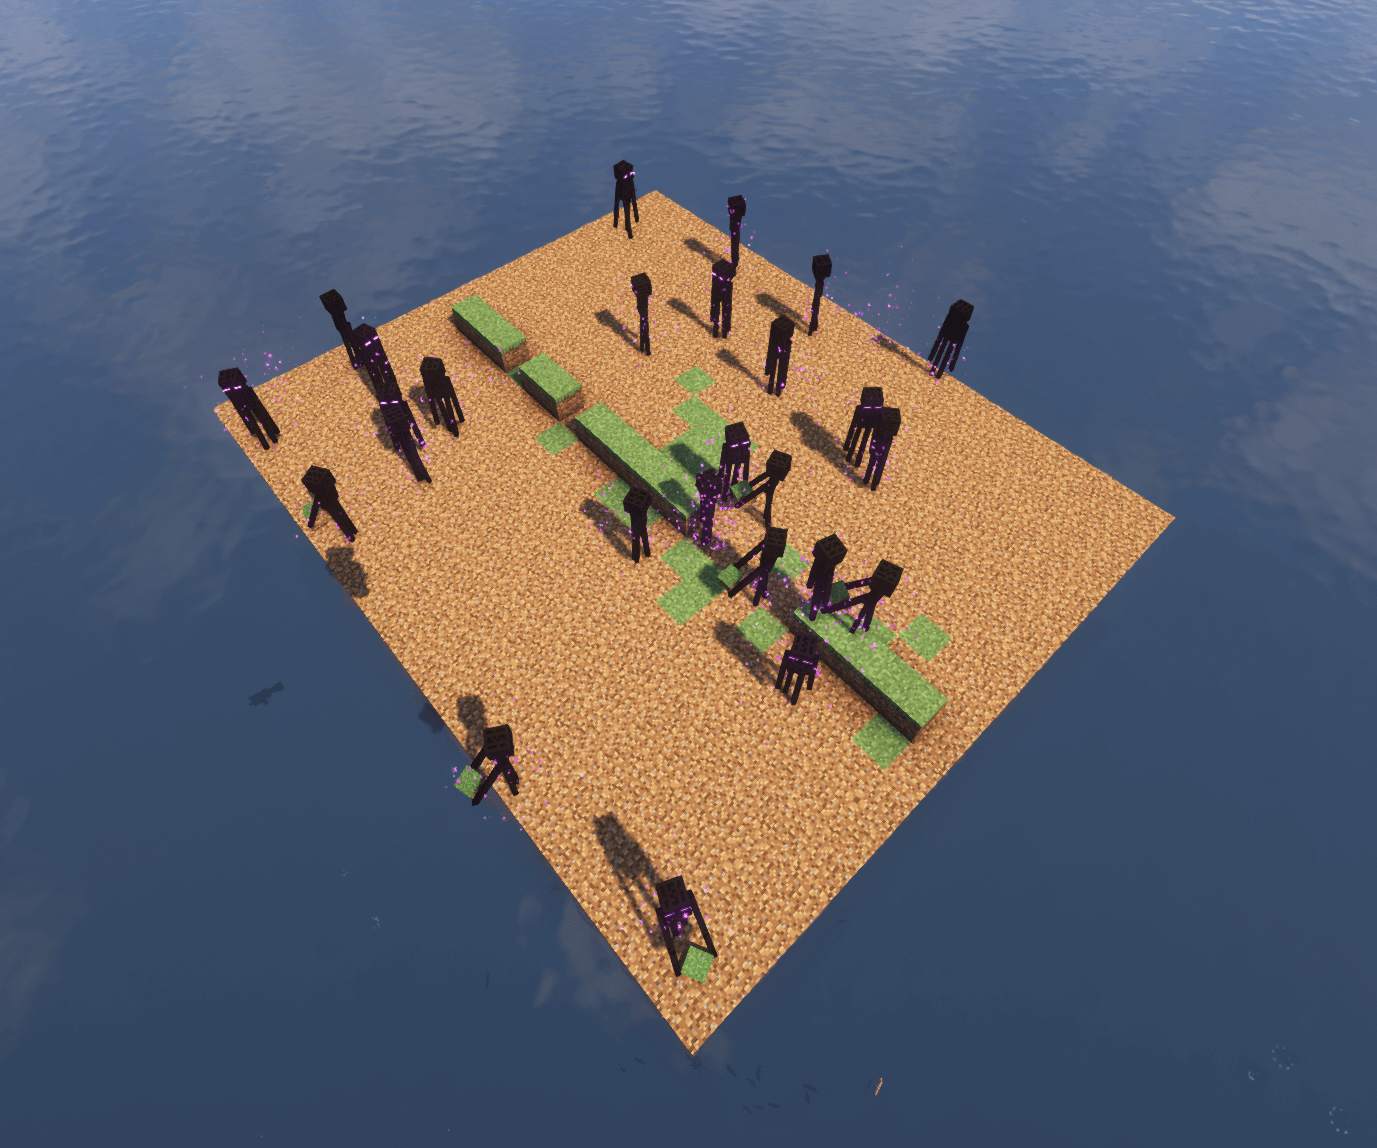
Disabled

Enderman picking up blocks

Guides

How to Install a Datapack in Singleplayer
At the Creation of a World

How to install a datapack in singleplayer

  1. Open Minecraft
    Launch the game.

  2. Create a New World
    Navigate to "More" and click on "Data Packs".

    Minecraft Settings Image

  3. Add the Datapack
    Drag the datapack (a .zip file or directory) into the Minecraft window.

    • A confirmation screen will appear. Click "Yes".
  4. Activate the Datapack
    Move the datapack to the right-hand side of the screen by clicking the triangle on its icon (visible when hovering over it).

Minecraft Settings Image

  1. Complete World Creation
    • Click "Done" at the bottom of the screen.
    • Continue creating your world and click "Create New World".

⚠️ IMPORTANT ⚠️

The datapack only works if cheats are enabled.

You can verify the datapack is active by typing:
/datapack list enabled

This command should list an entry named [file/<your datapack file/directory name>].

In an Existing World

How to Install a Datapack in an Existing Singleplayer World

  1. Open Minecraft
    Launch the game.

  2. Select Your World

    • Choose the world you want to install the datapack for.
    • Click "Edit", then "Open World Folder".
  3. Add the Datapack

    • Open the folder named datapacks.
    • Place the datapack into this folder. It should be a .zip file or a directory.
  4. Reload the World

    • If you are in the world during installation, type /reload in the chat or press F3 + T to reload resources.
      (Make sure cheats are enabled.)

⚠️ IMPORTANT ⚠️

The datapack only works if cheats are enabled.

You can verify the datapack is active by typing:
/datapack list enabled

How to Enable Cheats Permanently After World Creation

If you encounter this issue, here is a step by step guide on how to enable Cheats/Admincommands permanently after you have already created a Minecraft world.

⚠️ Before you begin, you should save and backup your world in case something goes wrong.
(I will not take any responsibility for any corrupt worlds. Do this at your own risk!)
But don't worry this works without any problems.
If you don't want to change this permanently check out this guide.

1. You need NBTExplorer

NBTExplorer is an open-source NBT editor for all common sources of NBT data. It's mainly intended for editing Minecraft game data.

2. Open NBTExplorer and open your Minecraft world, where you want to enable Cheats/Admincommands.

NBTExplorer Image

3. Navigate to:

  • <Your Minecraft World>
  • level.dat
  • Data
  • allowCommands

NBTExplorer Navigation Image

4. Click on "Edit Tag Value"

Edit Tag Image

5. Change the Value from 0 to 1 and click "OK"

Change Value Image

6. Now click on "Save All Modified Tags"

Save Image

That's it. You are done. You can now join your world and check if you have permission to change your gamemode, for example.

How to Enable Cheats Temporarily After World Creation

Enabling Cheats Temporarily After World Creation

If you encounter this issue, here is a step-by-step guide on how to enable Cheats/Admin commands temporarily after you have already created a Minecraft world.

  1. Join Your World
    Open your single-player world and press "Escape".

  2. Open to LAN
    Click on "Open to LAN".

    Open to LAN Screenshot

  3. Allow Commands
    Set "Allow Commands" to ON.

    LAN World Minecraft Screen

  4. Start LAN World
    Click "Start LAN World" to apply the changes.

LAN World MC Screen

Now, you should be able to use commands like changing your gamemode. Keep in mind that this is only temporary and will need to be done every time you join the world.

How to Install a Datapack in Multiplayer

How to Install a Datapack in Multiplayer

  1. Open Your Server Folder
    Navigate to your server folder, then open the folder for the world you wish to install the datapack in (default: world).

  2. Add the Datapack

    • The datapack should be a .zip file.
    • Place the datapack into a folder named datapacks inside the world folder.
  3. Reload the Server

    • Type /reload from the console or as a level 3 operator if the server was running during the installation.
How to Uninstall a Datapack

How to Uninstall a Datapack from Your Singleplayer World or Server

  1. Run the Uninstall Command
    For my datapacks, run the command:
    /function datapack_name:uninstall

  2. Delete the Datapack

    • Delete the datapack from the folder you placed it in.
    • Alternatively, you can run:
      /datapack disable [file/your data pack file/directory name]
  3. Reload the World or Server
    After deleting or disabling the datapack, run:
    /reload

How to Install a Mod on a Minecraft Server

Step-by-Step Guide to Installing a Mod on a Minecraft Server

  1. Download the Mod

    • Make sure to download the correct version of the Mod that matches your server's Minecraft version.
    • Important: The mod file should be a .jar file.
  2. Ensure No Datapacks or Other Mods Conflict

    • Do not have both a datapack and a mod installed at the same time, as they may conflict.
    • Only install one or the other, depending on your server's setup.
  3. Locate the Mods Folder

    • Open your server's root directory.
    • Inside this directory, find the folder named mods.
    • If the mods folder doesn't exist, create one.
  4. Install the Mod

    • Paste the downloaded .jar file for the Mod into the mods folder.
  5. Restart the Server

    • After adding the Mod to the mods folder, restart your Minecraft server for the mod to be activated.
  6. Verify Mod Installation

    • Once the server has restarted, join the server and check if the Mod is working.
    • You can use /mods or a similar command (depending on the mod) to see if the Mod has been successfully loaded.

Additional Tips

  • Backup Your Server: Always create a backup before installing the Mod to avoid data loss in case something goes wrong.
  • Ensure Mod Compatibility: Check that the Mod is compatible with your Minecraft server version and any other mods you have installed.

Verfügbare Versionen

No-Enderman-Grief v3.0.6release
MC 1.21.6, 1.21.7, 1.21.8, 1.21.9, 1.21.10, 1.21.11, 26.1, 26.1.1, 26.1.2, 26.2fabric, forge, neoforge, quilt
22. Juni 2026
No-Enderman-Grief v3.0.6release
MC 1.21.6, 1.21.7, 1.21.8, 1.21.9, 1.21.10, 1.21.11, 26.1, 26.1.1, 26.1.2, 26.2datapack
22. Juni 2026
No-Enderman-Grief v3.0.5release
MC 1.21.6, 1.21.7, 1.21.8, 1.21.9, 1.21.10, 1.21.11, 26.1, 26.1.1, 26.1.2, 26.2fabric, forge, neoforge, quilt
21. Juni 2026
No-Enderman-Grief v3.0.5release
MC 1.21.6, 1.21.7, 1.21.8, 1.21.9, 1.21.10, 1.21.11, 26.1, 26.1.1, 26.1.2, 26.2datapack
21. Juni 2026
No-Enderman-Grief v3.0.4release
MC 1.21.6, 1.21.7, 1.21.8, 1.21.9, 1.21.10, 1.21.11, 26.1, 26.1.1, 26.1.2, 26.2fabric, forge, neoforge, quilt
21. Juni 2026

No Enderman Grief auf dem Server installieren

1

Server bestellen

Bestelle einen Minecraft Java Server mit mindestens 3 GB RAM (4 GB empfohlen).

2

datapack Loader setzen

Wähle im Panel unter "Egg" den datapack-Loader und die passende Minecraft-Version (26.2).

3

Mod installieren

Öffne den Mod-Browser im Dashboard und suche nach "No Enderman Grief". Klicke "Installieren" – fertig! Alternativ: Lade die .jar via SFTP in den /mods Ordner.

Kompatibilität

Mod-Loader

datapackfabricforgeneoforgequilt

Minecraft-Versionen

26.2, 26.1.2, 26.1.1 (+18 weitere)

Server-seitig

Erforderlich

Empfohlener RAM

4 GB(min. 3 GB)

Häufige Fragen

No Enderman Grief Server crasht beim Start – was tun?

Häufigste Ursache: falsche datapack-Version oder zu wenig RAM. Prüfe im Server-Log (latest.log), ob ein "OutOfMemoryError" oder "Mixin"-Fehler auftritt. Bei Mado Hosting: Stelle sicher, dass mindestens 3 GB RAM zugewiesen sind und der Loader zur Mod-Version passt (26.2). Über das Panel kannst du den Loader mit einem Klick wechseln.

Ist No Enderman Grief mit datapack und fabric und forge und neoforge und quilt kompatibel?

No Enderman Grief unterstützt offiziell datapack, fabric, forge, neoforge, quilt für Minecraft 26.2, 26.1.2, 26.1.1. Achtung: Forge- und Fabric-Mods sind NICHT untereinander kompatibel – wähle einen Loader und bleibe dabei. Im Mado Dashboard werden inkompatible Loader-Kombinationen automatisch erkannt.

Server laggt mit No Enderman Grief – wie optimiere ich die Performance?

Empfohlener RAM: 4 GB (+1 GB pro 8 Spieler). Prüfe mit /spark profiler, ob No Enderman Grief den meisten Tick-Time verbraucht. Häufige Fixes: Server-View-Distance auf 8-10 reduzieren, bei Forge "performant" oder "starlight" als Zusatz-Mod installieren. Bei Mado Hosting läuft dein Server auf NVMe-SSDs mit dedizierten CPU-Kernen für minimale Latenz.

Modded Server mieten

Installiere No Enderman Grief mit nur einem Klick auf deinem Server.

Empfohlener RAM
4 GBab €5.2/Monat
Min. 3 GB | +1 GB pro 8 Spieler
Jetzt Server erstellen
1-Klick Mod Installation
NVMe SSD Speicher
DDoS-Schutz inklusive

Details

Lizenz
MIT License
Server-seitig
Erforderlich

Unterstützte Versionen

26.226.1.226.1.126.11.21.111.21.101.21.91.21.81.21.71.21.6+11 mehr