

Modrinth · Fabric, NeoForge
YAML Config auf deinem Minecraft Server
YAML Config läuft auf Minecraft Servern mit Fabric oder NeoForge. Bestell deinen Server, stell den Loader im Panel ein und installiere die Mod mit einem Klick im Mod-Browser.
Config library with GUI based on the YAML format.
- Downloads
- 304.3K
- Autor
- –
- Loader
- Fabric, NeoForge
- Minecraft
- 1.21 – 26.3
- Aktualisiert
- –
Einrichtung
YAML Config auf dem Server installieren
Server und Spieler brauchen denselben Loader und dieselbe Minecraft-Version. Sichere die Welt, bevor du Mods hinzufügst oder aktualisierst.
- 01
Konfigurieren
4 GB RAM sind vorausgewählt. Laufzeit und Add-ons wählst du selbst, bezahlt wird per Kreditkarte oder PayPal.
- 02
Loader einstellen
Stell im Panel die Serversoftware auf Fabric oder NeoForge und wähl die passende Minecraft-Version, zum Beispiel 26.3.
- 03
Mod installieren
Such im Mod-Browser nach „YAML Config“ und installiere die Version für deinen Loader. Alternativ lädst du die .jar per SFTP in den Ordner mods. Erforderliche Abhängigkeiten stehen auf der Projektseite.
- 04
Verbinden
YAML Config ist auf dem Client optional. Spieler verbinden sich über die Serveradresse aus dem Panel.
- Auf dem Server
- Optional
- Auf dem Client
- Optional
- Loader
- Fabric, NeoForge
- Minecraft
- 26.3, 26.2, 26.1.2 +10 weitere
- Lizenz
- Apache License 2.0
Das Panel
Mods installieren, Fehler finden.
Echte Screenshots aus dem Mado Panel. Beides ist bei jedem Minecraft Server enthalten.
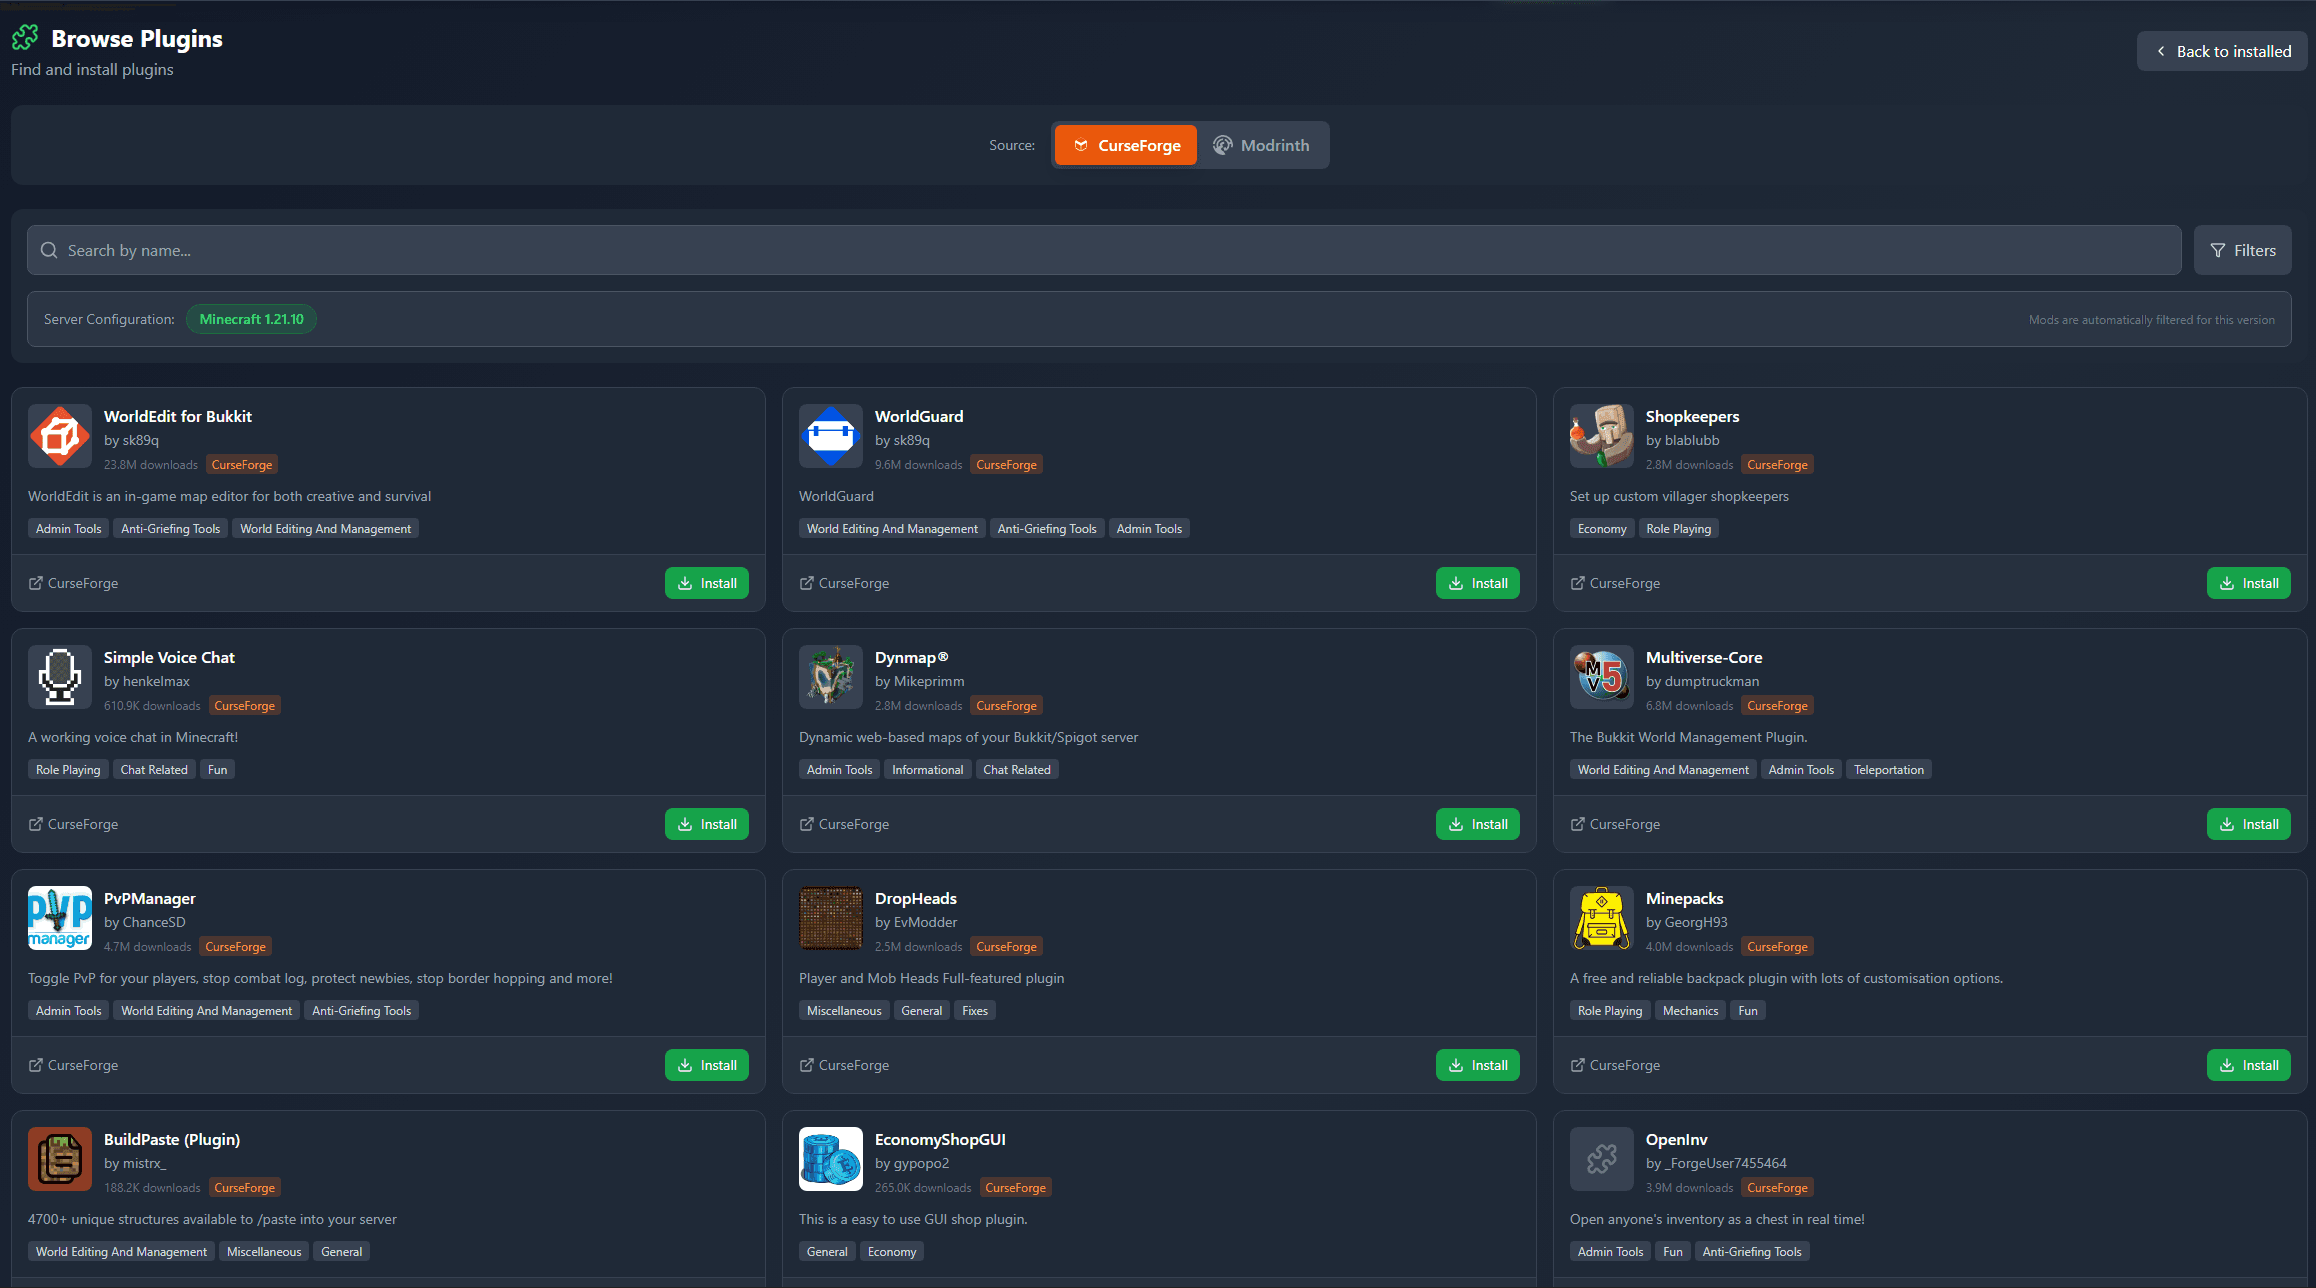
Mod-Browser
Modrinth und CurseForge direkt im Panel.
Der Browser filtert nach deiner Minecraft-Version. Mods installierst du mit einem Klick, ohne .jar-Dateien hochzuladen.
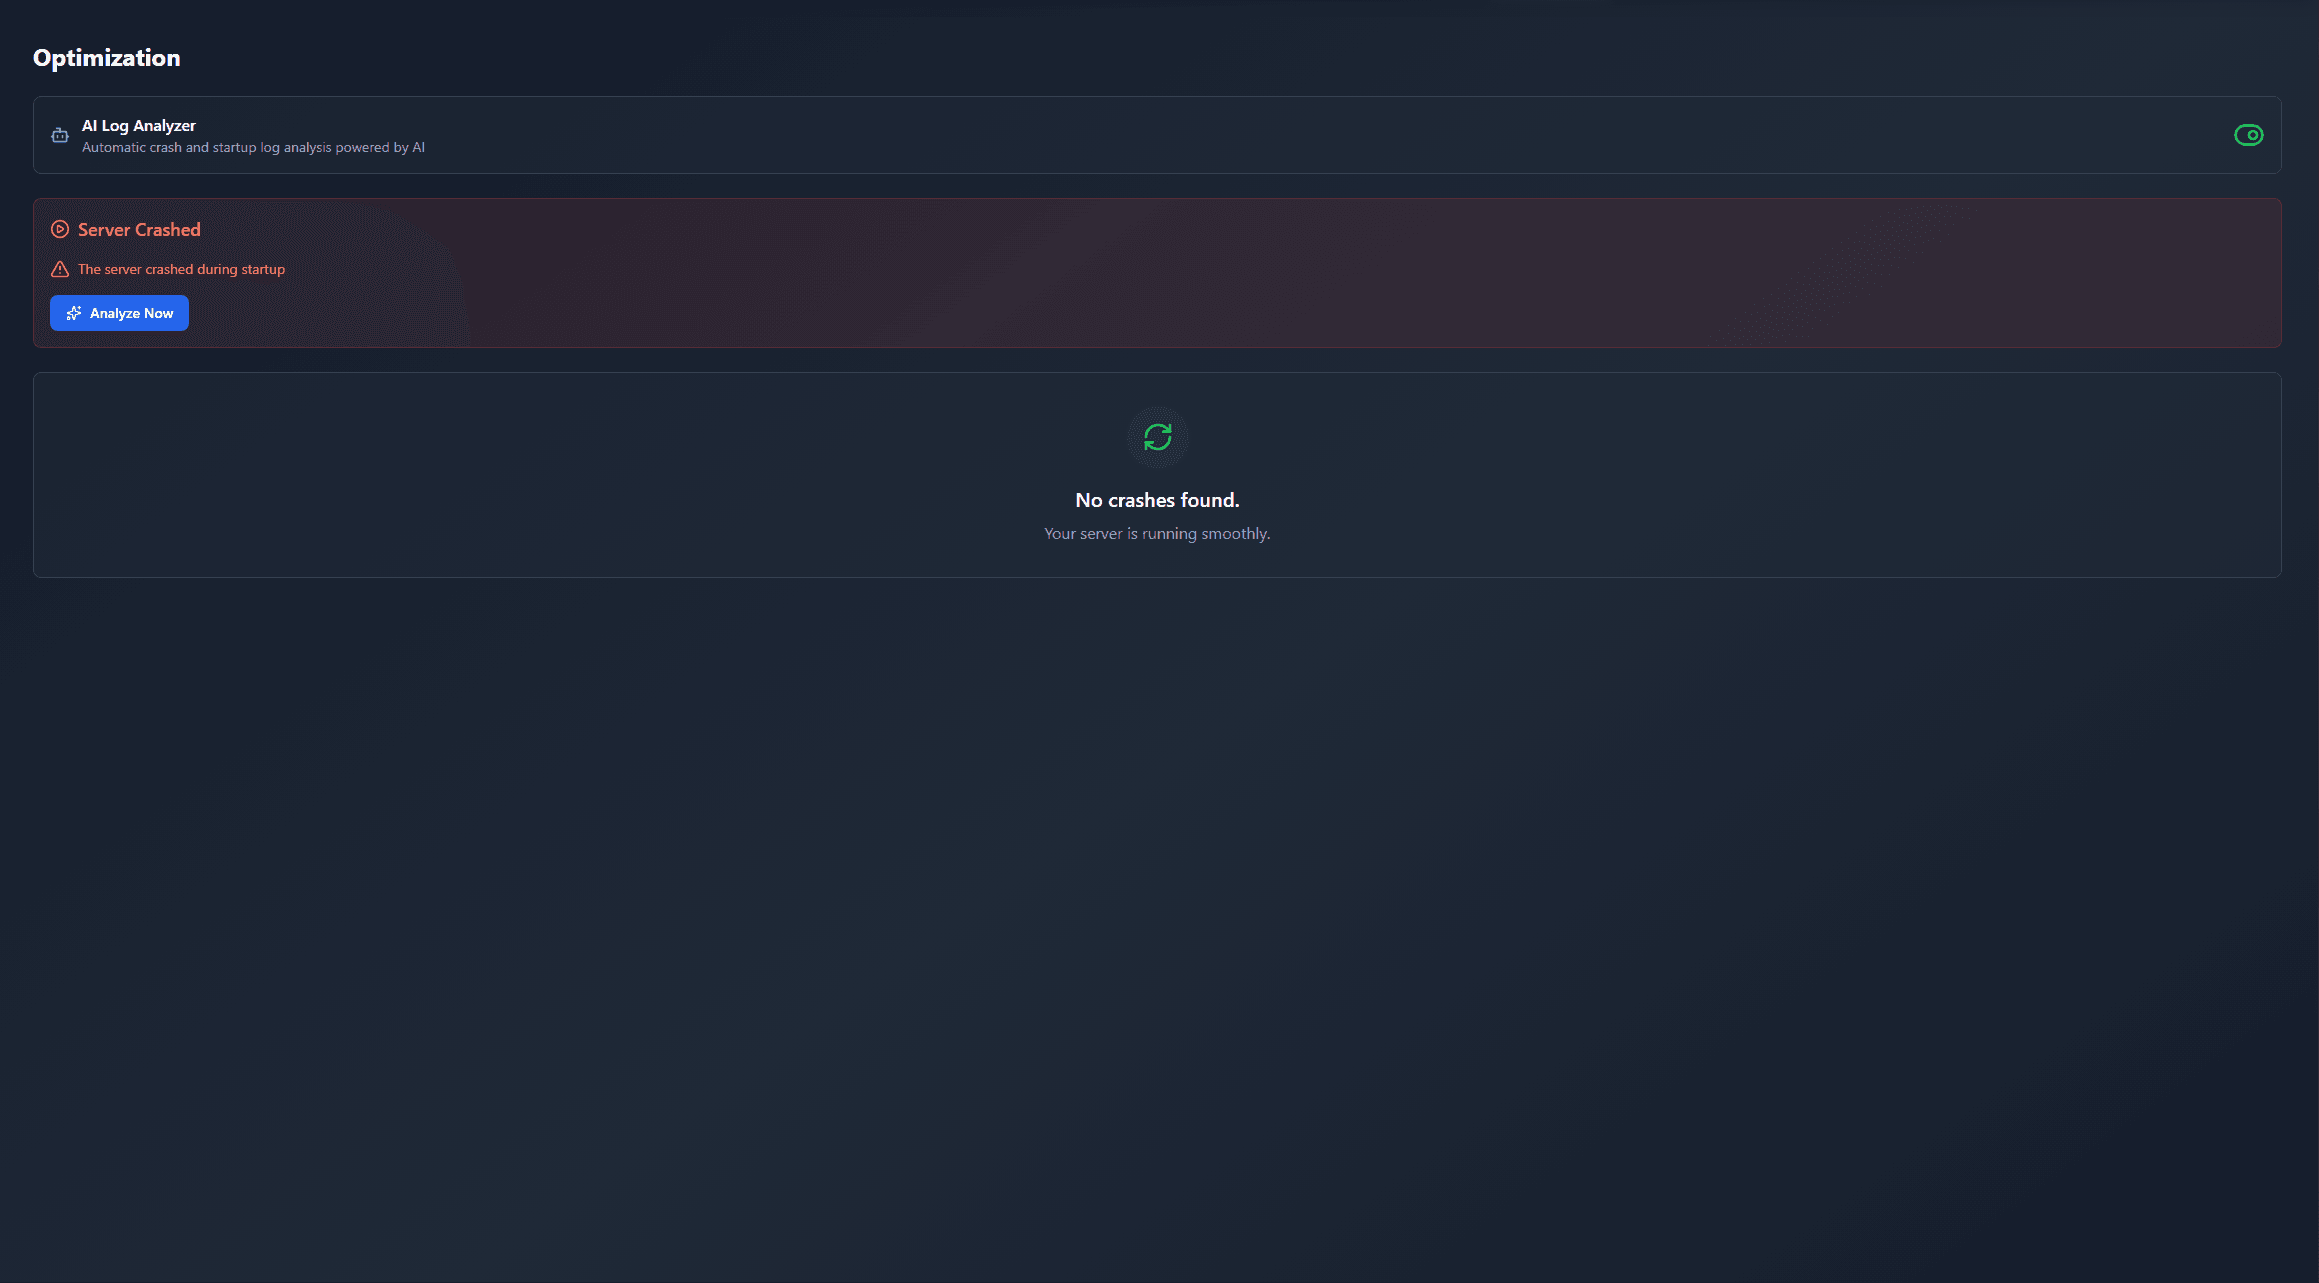
KI-Crash-Analyse
Wenn ein Mod crasht, liest die Analyse das Log.
Mods scheitern oft an einer falschen Loader-Version, Java-Version oder fehlenden Abhängigkeit. Die Analyse nennt eine wahrscheinliche Ursache und einen Lösungsvorschlag.
Versionen
Veröffentlichte Versionen
Nimm die Datei, die zu Loader und Minecraft-Version deines Servers passt. Server und Spieler brauchen dieselbe Version.
YAML Config · Modrinth- YAML Config NeoForge 26.3 - 22.1.010. Oktober 2026Minecraft 26.3 · NeoForge
- YAML Config Fabric 26.3 - 22.1.010. Oktober 2026Minecraft 26.3 · Fabric
- YAML Config Fabric 26.2 - 21.1.017. Juni 2026Minecraft 26.2 · Fabric
- YAML Config NeoForge 26.2 - 21.1.017. Juni 2026Minecraft 26.2 · NeoForge
- YAML Config NeoForge 1.21.11 - 19.1.22. Juni 2026Minecraft 1.21.11 · NeoForge
Originalbeschreibung des Projektautors

YAML Config: A Minecraft Configuration Mod
Overview
YAML Config is a powerful Minecraft configuration mod that enables mod developers to create and manage configuration settings using the YAML file format. It offers a user-friendly GUI, extensive support for data types, and robust networking for client-server synchronization.
Features
YAML File Format: YAML Config utilizes the YAML file format, known for its readability and ease of use.
GUI Interface: A well-designed GUI allows players to easily navigate and edit their configuration settings.
Extensive Data Type Support: The mod supports a wide range of data types, including:
- Primitive Types:
boolean,int,float,double,String,ResourceLocation,Registry - Collections:
List,Map - Date and Time:
LocalDateTime
- Primitive Types:
Server-Client Synchronization: Changes made to configurations on the server are automatically synchronized to clients, ensuring consistency across the gameplay experience.
Modpack Support: The mod is designed to work seamlessly with existing modpacks, offering a flexible and expandable configuration system.
Validation and Error Handling: The mod includes robust validation and error handling, ensuring that configurations meet the expected requirements.
Installation and Usage
Installation
- Download the mod: Download the latest version of YAML Config from the mod's official website, CurseForge, or Modrinth.
- Place the mod file: Move the downloaded JAR file into the "mods" folder within your Minecraft directory.
- Launch Minecraft: Start Minecraft and join a world.
Usage
Open the Configs Screen: Press "F12" on your keyboard to open the Configs screen.
Navigate to the Config: The Configs Screen displays a list of available configurations. Select the mod whose configuration you want to modify.
Edit Config Entries: The Config Screen displays the available settings. Each entry includes:
- Title: The name of the setting.
- Input Field: A field for editing the value.
- Reset Button: A button for resetting the value back to its default.
Save Changes: Click the "Save Changes" button to save your modifications. The mod will automatically save the changes to the configuration file and synchronize them with other players on the server (if applicable).
Development
Creating Configurations
1. Define a Config Class:
- Create a new Java class within your mod's codebase that represents your mod's configuration.
public class MyModConfig {

    public static IConfig config;

    public static IConfigEntry<Boolean> debug;

    public static void init() {
        ConfigBuilder builder = new ConfigBuilder(MyMod.MOD_ID, "mymod-config", ConfigExtension.YAML, ConfigType.CLIENT);
    }
}
2. Define Config Entries:
- Use the
ConfigBuilderclass to define the settings for your configuration. - Choose the appropriate data type for each entry using the
define*methods.
// Example of defining a boolean entry:
debug = builder.defineBoolean("debug", false);

// Example of defining an integer entry with range:
intEntry = builder.defineInteger("intEntry", 10, 0, 100); // Min 0, Max 100

// Example of defining a string entry with pattern:
stringEntry = builder.defineString("stringEntry", "test", "test\\d+");

// Example of defining a registry entry:
registryEntry = builder.defineRegistry("registryEntry", Blocks.GRASS_BLOCK, BuiltInRegistries.BLOCK);

// Example of defining a list:
stringListEntry = builder.defineStringList("stringListEntry", List.of("test1", "test2", "test3"), 3, 10); // Min 3, Max 10

// Example of defining a map:
integerMapEntry = builder.defineIntegerMap("integerMapEntry", Map.of("test1", 1, "test2", 2, "test3", 3), 3, 10); // Min 3, Max 10
3. Build the Configuration:
- Call the
build()method on theConfigBuilderto create your configuration. - Store the configuration in a static field for easy access within your mod's code.
public MyModConfig() {
    ConfigBuilder builder = new ConfigBuilder("mymod", "mymod-config", ConfigExtension.YAML, ConfigType.CLIENT);
    // ... define config entries
    config = builder.build();
}
4. Access Config Values in Your Code:
- Use the
get()method to retrieve the current value of a config entry. - Use the
set()method to modify the value of a config entry.
// Example:
boolean debugEnabled = MyModConfig.debug.get(); // Retrieve the current value of the "debug" setting

if (debugEnabled) {
    // Perform debug-related actions
}

MyModConfig.intEntry.set(25); // Set the value of the "intEntry" to 25
Config Type
ConfigType.CLIENT: Client-side configurations are specific to the client who has installed the mod. They are not shared with other players on the server.ConfigType.SERVER: Server-side configurations are specific to dedicated servers. They will not be used on single player worlds and are not synced to the players on the server.ConfigType.COMMON: Common configurations are shared between both clients and the server. They can be edited on the server by editing the config file directly and restarting the server or by editing the values using the in-game GUI and saving the changes.
Using Custom Data Types
- Use the
IConfigEntryTypeinterface to register custom data types with the YAML Config mod. - Implement a custom serializer for handling the serialization and deserialization of your custom data type.
Modpack Configuration
- If you are creating a modpack, you can use YAML Config to define the configuration settings for your modpack.
- Place the configuration file for your modpack in the "config" folder within your modpack's directory.
Examples
// Example: Basic client-side configuration

public class MyModConfig {

    public static IConfig config;

    public static IConfigEntry<Boolean> debug;
    public static IConfigEntry<Integer> testInt;

    public static void init() {
        ConfigBuilder builder = new ConfigBuilder("mymod", "mymod-config", ConfigExtension.YAML, ConfigType.CLIENT);

        debug = builder.defineBoolean("debug", false) // default false.
                .withComments("Whether debug mode is enabled for the mod.");

        testInt = builder.defineInteger("testInt", 10, 0, 100); // default 10, min 0 and max 100.

        config = builder.build();
    }
}
YAML Config Server crasht beim Start – was tun?
Häufige Ursachen: Loader- oder Minecraft-Version passen nicht zur Mod-Datei, eine Abhängigkeit fehlt oder der RAM reicht nicht. Such im Log (latest.log) nach „OutOfMemoryError“, „Mixin“ oder fehlenden Mods. Bei Mado wertet die KI-Crash-Analyse das Log aus und schlägt eine Ursache vor. Loader und Version änderst du im Panel.
Mit welchem Loader läuft YAML Config?
Laut Modrinth unterstützt YAML Config Fabric, NeoForge für Minecraft 26.3, 26.2, 26.1.2.
Wie viel RAM braucht ein Server mit YAML Config?
Als Orientierung 3–4 GB für einen Server mit dieser Mod. Das ist eine Schätzung, keine gemessene Mindestanforderung. Weitere Mods, viele Spieler und große Sichtweiten brauchen mehr. Ob eine Mod die Tick-Zeit belastet, siehst du mit dem spark-Profiler.
Ähnliche Mods
Beliebte Mods aus derselben Kategorie
 Server-fähig

Fabric API
von modmuss50
Lightweight and modular API providing common hooks and intercompatibility measures utilized by mods using the Fabric toolchain.
 Server-fähig

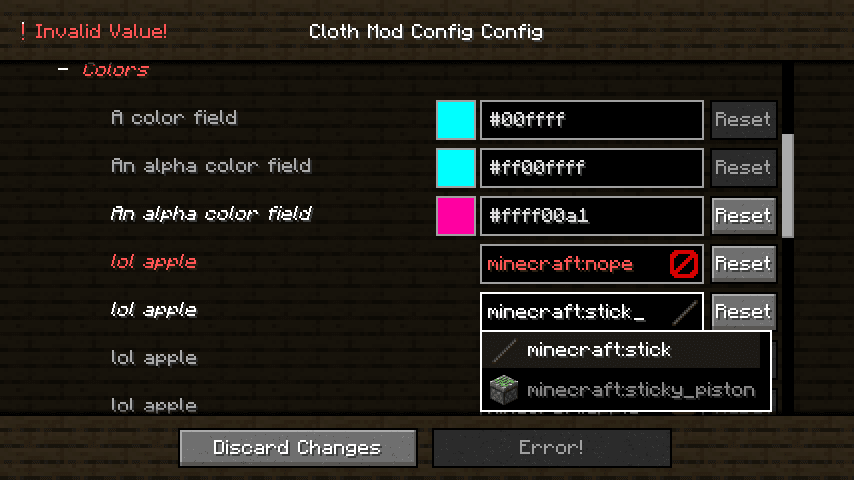
Cloth Config API
von shedaniel
Configuration Library for Minecraft Mods
 Server-fähig

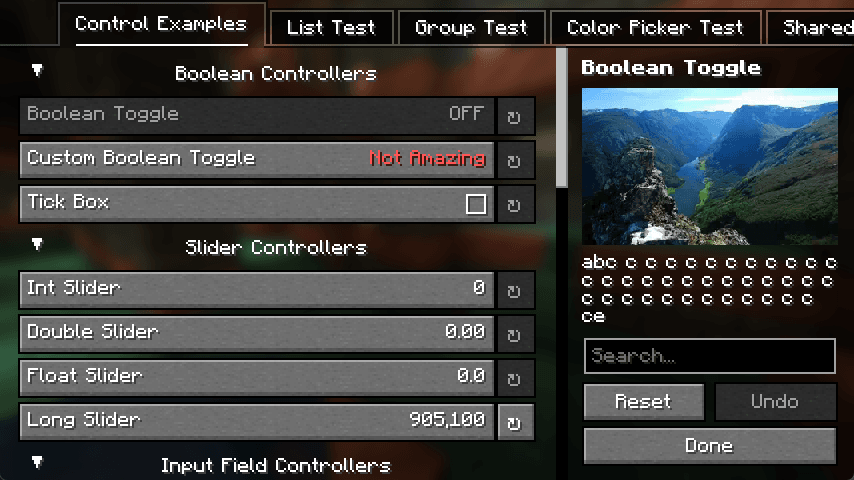
YetAnotherConfigLib (YACL)
von isxander
A builder-based configuration library for Minecraft!
 Server-fähig

Fabric Language Kotlin
von modmuss50
This is a mod that enables usage of the Kotlin programming language for Fabric mods.
Bereit für deinen Server mit YAML Config?
4 GB RAM ab 8,00 € im Monat. 35 % auf den 1. Monat mit MADO35.